For teams building a construction updates mls cyprus workflow, uploading a few site photographs is not enough. The team needs to define the milestone, repeat the relevant camera angles, verify the factual context, add dates and captions, update the primary project record and distribute one approved version to agents.
What this guide will help you do
This guide is intended for developers, project managers, marketing teams, sales departments and partner managers.
It provides a practical process for:
- documenting changes between construction stages;
- presenting confirmed progress;
- separating real photographs from visualisations;
- writing clear captions;
- maintaining the current project record;
- distributing approved updates to agents;
- preserving the history of previous updates;
- identifying and correcting inconsistencies.
A construction update is not an engineering report, official schedule or legal confirmation of completion. It is a dated visual record of the project’s condition.
Assign responsibility for the update
The project manager confirms what may be shown and how the current stage should be described. A site representative arranges safe access, the marketing team prepares the photographs and captions, and the project data owner updates the primary record.
The partner manager distributes the new material to agents and ensures that the previous version is withdrawn. The sales team can use the update when answering buyer questions but should not independently redefine the construction stage or change confirmed delivery information.
Prepare before visiting the site
Before the shoot, decide which change the update needs to document. “Photograph the construction site” is too broad. The team should know whether it needs an overall view, the façade, a specific block, an interior area or a comparison with the previous update.
Prepare:
- the date and time of the shoot;
- approved site access;
- safe shooting positions;
- a list of required photographs;
- repeatable camera angles;
- permission to use the materials;
- any required consent for identifiable people;
- a review of drone restrictions;
- a person responsible for the files;
- the previous gallery for comparison.
Before using a drone in Cyprus, check the current geographical restrictions and permission requirements, particularly around airports. Identifiable people, private property, documents and other sensitive information should not appear accidentally in commercial materials.
Use repeatable camera angles
A consistent viewpoint allows buyers and agents to compare the same building or area across several updates. The change is easier to understand because the viewer is not comparing unrelated photographs.
Record:
- the camera position;
- the shooting direction;
- the approximate height;
- the lens used;
- the building or area;
- the approximate time;
- a copy of the previous reference image.
Step 1 Choose the milestone
Select one change that should be clear after viewing the gallery. It may be façade work, internal construction, landscaping or a particular project phase. Avoid combining unrelated activities without explaining how they connect.
Step 2 Photograph the site
Capture an overall view, several images of the selected milestone and one contextual photograph. Use the same viewpoints as the previous update where comparison is important.
The photographs should reflect the actual site condition. An architectural visualisation must not be presented as a photograph of a completed property, and editing should not alter the reality of the construction site.
Step 3 Select the useful images
Remove duplicates, accidental photographs, images containing confidential documents and any material that cannot be published. The final selection should help the viewer understand the update rather than simply fill a gallery.
A practical progress photos developers process gives every photograph a clear role. One image establishes the overall context, another shows the milestone, and a comparison image documents what has changed.
Step 4 Verify the facts
The project manager or another authorised employee should verify the building, location, construction stage and description of the visible work. The marketing team separately checks the date, caption, usage rights and consistency between the image and accompanying text.
Avoid:
- unconfirmed completion percentages;
- unsupported delivery dates;
- phrases such as “almost finished” without a clear basis;
- technical conclusions without professional confirmation;
- broad quality claims instead of visible facts;
- unlabelled architectural visualisations.
Step 5 Organise the gallery
Each photograph should have enough context to be understood independently.
Record:
- the date;
- the project name;
- the block or phase;
- the part of the building;
- the visible construction stage;
- a short caption;
- the source;
- the approval status;
- the usage rights;
- the version number;
- the display order.
File names should also identify the content. Instead of IMG_4837, use a structure containing the project, date, block and viewpoint.
A sample construction gallery
Image 1 Overall site
Show the full construction site or current phase. Include the date, phase name and shooting position in the caption.
Image 2 Façade
Document work on a specific building. State the side of the building and the visible activity without making unsupported technical claims.
Image 3 Individual block
Show an area that cannot be seen clearly in the overall photograph. The caption should describe only what is visible.
Image 4 Interior work
Present an approved internal area or show unit. Identify precisely where the photograph was taken.
Image 5 Services or finishes
Include this only when the context is clear. The marketing team should not make engineering conclusions based on a photograph.
Image 6 External areas
Show landscaping, access routes or other external works. The caption should describe the visible stage.
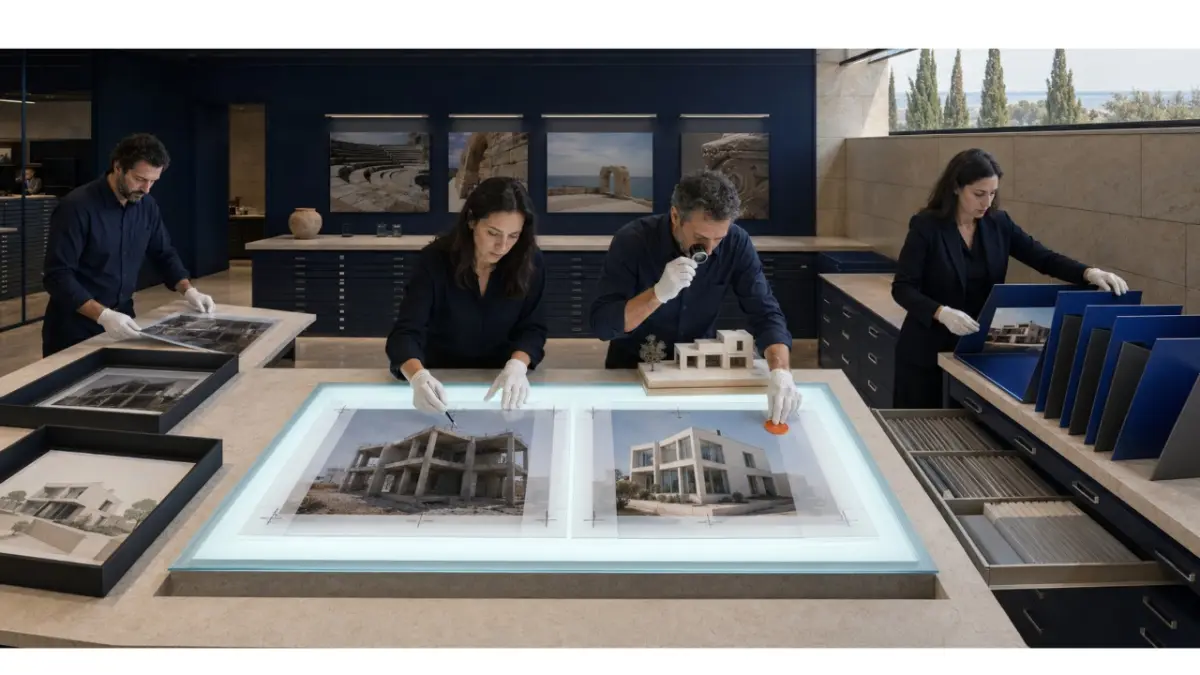
Image 7 Comparison
Place the previous and current photographs from the same viewpoint together. Both images need dates.
Image 8 Location context
Show access, the surrounding area or the project’s setting. Check permissions and restrictions before using drone footage.
Write factual captions
A useful caption answers four questions: when the photograph was taken, what it shows, which part of the project it covers and which stage can be confirmed.
Examples include:
- “Façade works on the north side of Block A, photographed on [date].”
- “Current view of the show unit interior, photographed on [date].”
- “External works visible within the project grounds on the date of this update.”
- “An actual construction progress photograph, not a visualisation of the completed property.”
- “The same viewpoint from the previous and current updates.”
- “Works visible within the external access area on the publication date.”
A caption should not replace a technical report or create a promise about a future completion date.
Step 6 Update the primary source
After approval, add the update to the main project record or another authorised source. The date, version and status should be clear to employees, agents and other users.
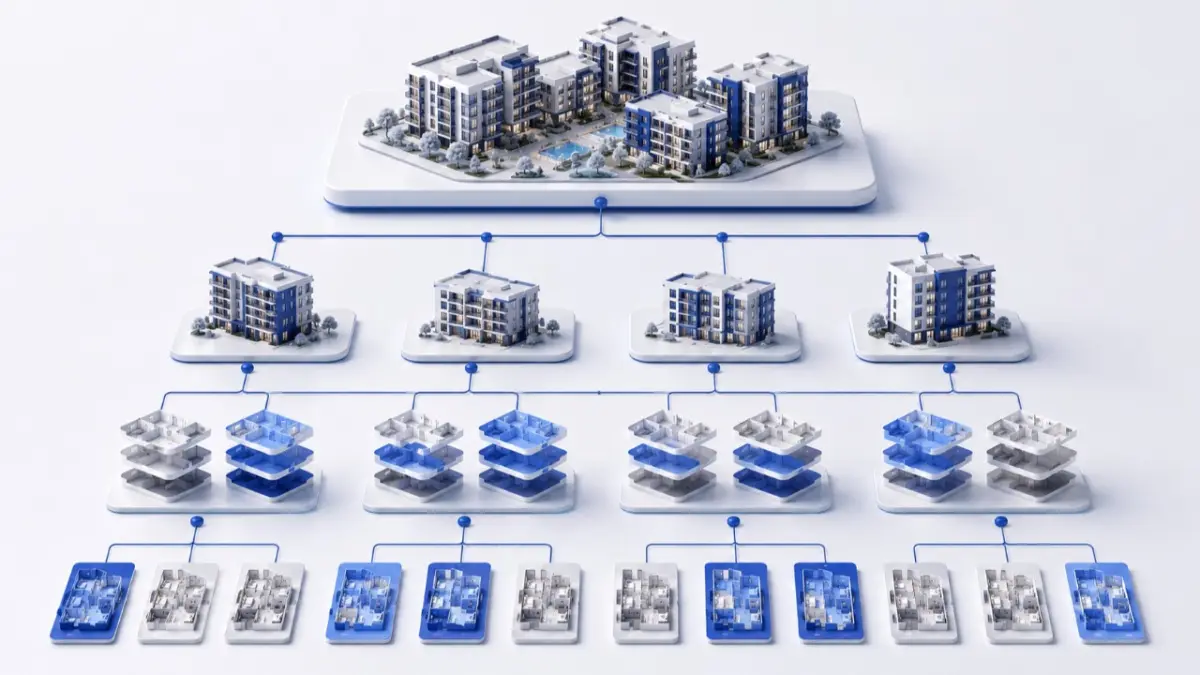
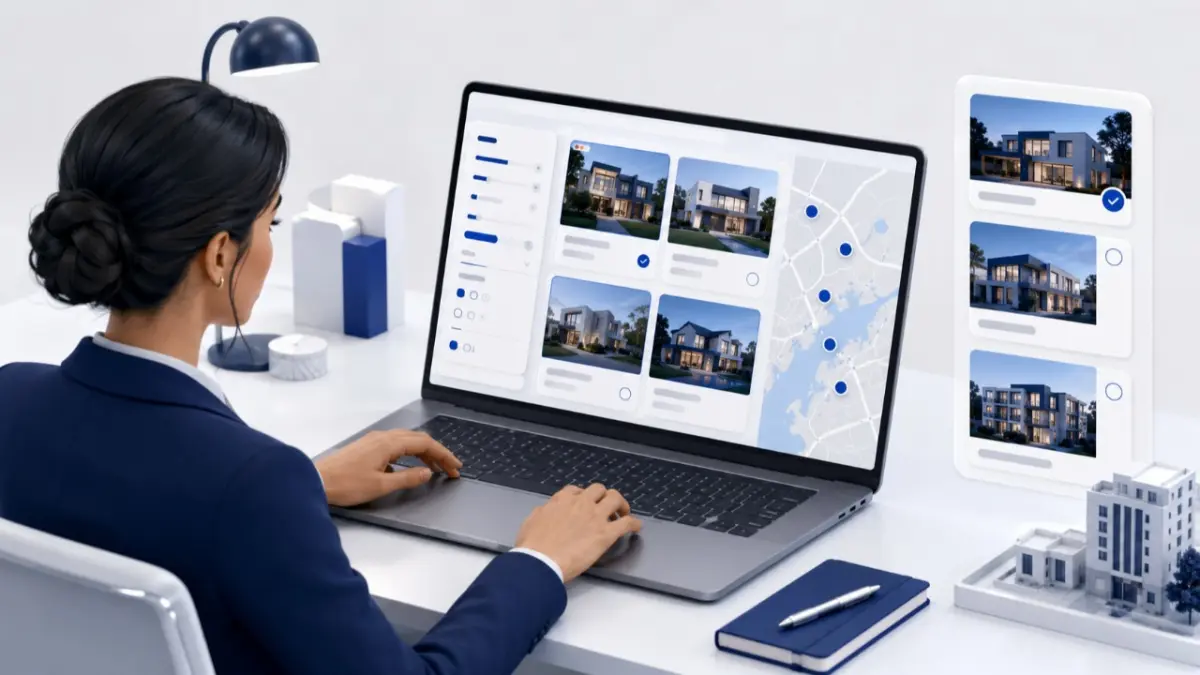
MLS RealtyHub allows developers to manage projects and portfolios, update project information, and store and distribute approved media. The day-to-day management process can be explored further through Developer Dashboard.
The availability of a dedicated construction gallery, image captions, version history or automatic notifications must be confirmed for the relevant configuration. These capabilities should not be assumed from a general reference to media support.
Step 7 Distribute the update
To update agents effectively, do not send photographs without context. Partners need one approved version with a date, a short explanation and clear usage rules.
The update pack should include:
- a short notification;
- the new gallery;
- the update date;
- a description of the confirmed milestone;
- details of the materials being replaced;
- approved wording;
- a contact for questions;
- a request to review active publications.
Agents may use the approved material when speaking with clients, but they should not independently change the construction stage, completion date or project facts.
Step 8 Review and archive
After publication, check the project record, active advertisements, presentations and partner materials. If a caption is incorrect or an outdated image is still being used, replace it and inform the relevant team members.
The previous gallery does not necessarily need to be deleted. It can be archived with its original date and context. This preserves the project history without presenting an older gallery as the current update.
Respond to buyer questions
Buyers can receive the update date, photographs, a factual description of the visible work and directions to the current project record. Include a named contact for further questions.
Enquiries generated by an update can be recorded through a Developer CRM Integration workflow. This can connect the buyer’s question with the project and responsible team member, but it does not turn a marketing gallery into a technical report.
When Developer API Integration may help
An integration may be relevant when structured project information is transferred to MLS RealtyHub from another internal system. The ability to transfer photographs, captions, dates or archived versions through an API or import process needs to be confirmed separately.
Do not claim that images or external publications update automatically with the project data unless this is supported by the documentation and configuration.
A practical example
A developer prepares an update after reaching a new confirmed milestone on a project in Cyprus. The team uses repeatable camera positions and photographs the overall site, façade, individual block, internal area and landscaping.
The project manager verifies the context, the marketing team adds dates and captions, and the primary project record is updated. Agents receive the new material pack, the previous gallery is archived and active publications are reviewed. A buyer’s question about the visible work is recorded and assigned to the responsible employee.
Measure the quality of the process
Useful indicators include:
- whether updates follow the internal schedule;
- whether every photograph has a date;
- whether every image has a clear caption;
- the time between confirmation and publication;
- the number of inconsistencies found;
- the time required to distribute the update to agents;
- the number of repeated questions;
- whether agents use the current version;
- the number of outdated publications corrected.
These indicators measure the quality of the update process, not sales performance.
Common mistakes
- Publishing photographs without dates.
- Using different viewpoints for every update.
- Selecting attractive but uninformative images.
- Publishing captions without project-manager approval.
- Stating an unconfirmed completion percentage.
- Promising a delivery date without a reliable basis.
- Mixing visualisations with actual photographs.
- Using a drone without checking restrictions.
- Publishing identifiable people or private information without proper review.
- Sending materials to agents without a version date.
- Updating only one channel.
- Ignoring active advertisements after a new update.
- Deleting the complete history instead of archiving it.
- Presenting a marketing update as engineering confirmation.
- Claiming that MLS RealtyHub provides an unconfirmed gallery or automatic notification feature.
Final checklist
- The milestone has been defined.
- Site access has been approved.
- Safe shooting positions have been selected.
- Repeatable camera angles have been prepared.
- Drone restrictions have been checked.
- Usage rights and consent have been confirmed.
- All required photographs have been captured.
- Duplicates and unsuitable images have been removed.
- The factual context has been verified.
- Every photograph has a date.
- Captions describe only confirmed facts.
- Visualisations are clearly labelled.
- The primary source has been updated.
- Agents have received the new version.
- Older publications have been reviewed.
- The previous gallery has been archived.
- A person responsible for questions has been assigned.
The next step
A reliable construction update process follows the same sequence every time: document a defined milestone, verify the photographs, update the primary source and distribute one approved version to agents. MLS RealtyHub can help organise project information and media without replacing technical supervision or official construction confirmation.
Request an MLS RealtyHub demonstration to see how project materials and recurring updates can be organised for a partner network.
Author
This material was written by Maria Vashchenko.
For questions, collaboration, or further discussion, feel free to contact me on LinkedIn.